


Office Monitor Arms: Ergonomic Guide for LA Workspaces
The right monitor arm depends on your desk, not on a universal rule. Arms attach with a clamp at the desk edge or through a grommet hole, so choose a method your desktop can support and your layout can accommodate. In a tight workspace, the arm’s reach and screen clearance matter as much as its mounting method.
It’s tempting to start with clamp versus grommet, but desk construction, screen compatibility, and available space determine whether an arm will work. The right option should suit both the furniture and the way people use the workspace.
This guide explains how to compare clamp and grommet mounts, check desk and screen compatibility, and match an arm to a compact or open Los Angeles office. It also covers placement near walls and planning for sit-stand workstations, helping you make a practical decision before installation.
Table of Contents
Single, dual, triple, and ultrawide monitor arms
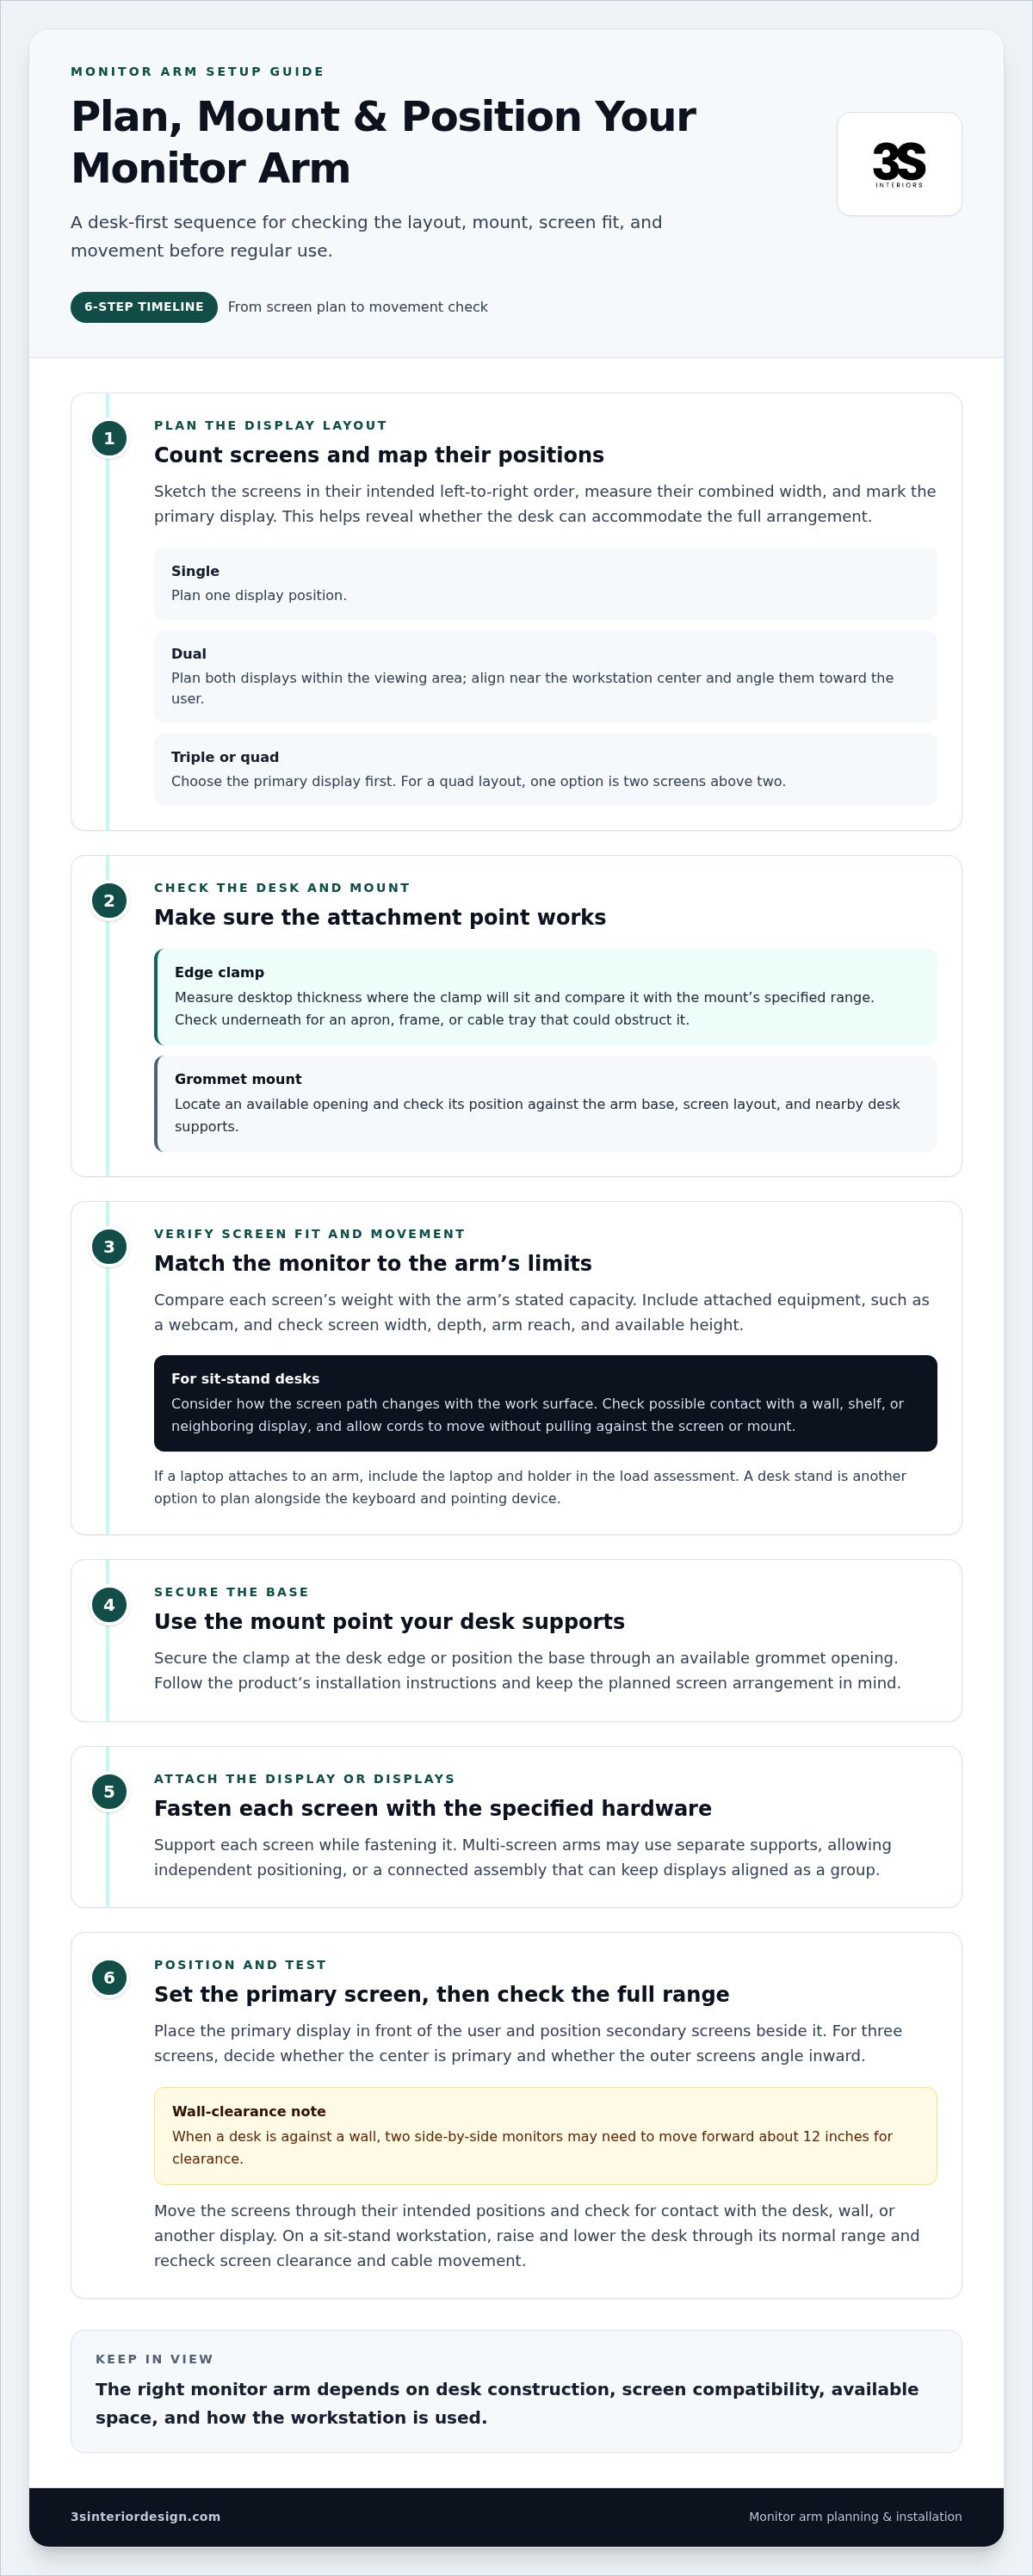
Choose a layout by counting the screens, measuring their combined width, and mapping each display’s role. To install an arm, secure its base according to the manufacturer’s instructions, attach the display, and adjust it to suit the user’s usual viewing position.
Screen Count and Layout Options
A single-screen setup needs one display position. Dual, triple, and quad layouts need more reach and careful coordination across the desk. Before selecting monitor arms, sketch the screens in their intended left-to-right order and mark the primary display. This quick plan shows whether the desk can accommodate the full arrangement.
On a wide or L-shaped desk, place the primary screen in front of the user, then position secondary screens beside it. For a wide dual-monitor configuration, plan how both displays will sit within the user’s viewing area. When a desk is against a wall, two side-by-side monitors may need to move forward about 12 inches for clearance.
Multi-screen arms may use separate supports or connect displays on one assembly. Separate supports let users position each screen independently, while a connected setup can keep displays aligned as a group. For three screens, decide whether the center display is primary and whether the outer screens should angle inward. A quad-screen layout needs a planned arrangement, such as two screens above two.
Installation and Ergonomic Adjustment
Installation means securing the base and attaching each display; adjustment sets screen position for regular use. Before fitting monitor arms, identify the mounting point and follow the product’s installation sequence. Keep the planned single-, dual-, triple-, or quad-screen arrangement in mind as you position the base.
Secure the clamp at the desk edge or position the base through an available grommet opening, following product instructions.
Attach each display using the specified hardware, supporting the screen while fastening it.
Place the primary display in front of the user, then position secondary screens beside it.
Adjust the screens and check that movement won’t bring them into contact with the desk, wall, or another display.
For a dual-screen setup, align both displays near the center of the workstation, then angle them toward the user. For triple or quad layouts, position the primary screen first and arrange the others around it. Recheck alignment after changing the seating position or desk setup. These adjustments help the screens work together as one coordinated station.
Monitor arms for standing desks and sit-stand solutions
For a sit-stand desk, choose an arm that keeps the display positioned as the work surface moves. The arm must also support the screen’s weight and dimensions within its stated limits. Exceeding the specified capacity or securing the base incorrectly can cause the display to shift or fall, so follow the installation instructions.
Weight Capacity and Dimensions
Compare the monitor’s weight with the arm’s stated capacity, checking each display separately in a multi-screen setup. Include attached equipment, such as a webcam, in the load assessment. Then consider screen width, depth, arm reach, and available height. A display may meet the weight limit but still be difficult to position if its dimensions exceed the arm’s usable range.
A sit-stand desk moves the screen up and down with the work surface. Before selecting monitor arms, consider the desk’s movement, the arm’s extension, and the screen’s path. Raise and lower the desk through its normal range, noting possible contact with a wall, shelf, or neighboring display. Account for cable movement too, so cords can follow the workstation without pulling against the screen or mount.
Laptop users should decide whether the laptop will serve as the main display or sit beside an external monitor. A compatible laptop holder attaches the device to an arm; a laptop stand supports it on the desk. In either setup, plan the screen position alongside the keyboard and pointing device. If the laptop attaches to an arm, include its weight and holder in the load assessment.
Arms, Stands, and Risers
An adjustable arm lets users reposition the screen, which can suit a desk used both seated and standing. A fixed monitor stand holds the display in place, while a riser elevates it and may leave room underneath. Compare how each option handles desk movement, screen placement, and the equipment used at the workstation.
Stands and risers can work when a screen stays in one position, but they don’t offer an arm’s range of movement. An arm can free up surface beneath the monitor, though its base still needs mounting space. Consider the whole setup, including the laptop, keyboard, and desk accessories, before choosing.
For a broader workstation update, sit-stand and height-adjustable tables can be considered alongside screen placement. Matching desk movement with display positioning helps create a coordinated setup for changing work positions.
Desk thickness and clearance requirements
A mount needs a suitable attachment point and enough room for the arm to move. Measure the desktop, inspect its edges, and map the space around the screens before choosing where to mount it.
A clamp attaches at the desk edge, while a grommet mount passes through a hole in the work surface. Each method depends on the desk’s construction and the mount’s attachment requirements. Measure the desktop thickness where the clamp will sit and compare it with the mount’s specified range. Check underneath too, since an apron, frame, or cable tray may obstruct the clamp.
For a grommet mount, locate an existing opening and assess whether its position suits the screen layout. Check the opening’s location against the arm base and nearby desk supports. For example, a hole near the rear corner may position the screen differently from one centered behind the keyboard. The mounting point should also leave the arm room to extend and turn.
Desk shape affects placement. On a straight desk, an edge clamp can preserve the central work surface if the edge lets the base sit securely. On an L-shaped desk, consider which work area needs the screen and how far the arm must reach. A side return, modesty panel, or desk divider can block the arm’s path even when the desktop itself looks clear.
Wall clearance needs attention before installation. When a desk is against a wall, placing two monitors side by side requires bringing them forward about 12 inches. That space allows the screens to sit together without being pushed directly against the wall. Measure from the desk edge to the wall, then account for the arm’s position and the screens’ depth.
Use this sequence to assess a workstation:
Measure desktop thickness at the intended clamp point.
Inspect the underside for rails, drawers, frames, or cable trays.
Locate grommet openings and compare their positions with the planned screen arrangement.
Trace the arm’s movement path, including turns and forward extension.
Check nearby walls, partitions, and equipment against the screen positions.
For example, a thick rear edge with a support rail underneath may make an edge clamp unsuitable there. A nearby grommet opening may provide another attachment point if the mount fits the opening and the arm reaches the intended position. Checking the desktop and its underside helps reveal constraints before installation. Record measurements and obstacles together so the mount suits the whole workstation, not just one edge.
Monitor arm size and weight compatibility
A curved display can use an arm if its mounting interface, weight, and dimensions are compatible. A monitor without VESA mounting holes needs an adapter designed for that display; without one, it can’t attach directly.
Start with the monitor manufacturer’s specifications. Record its weight without the original stand, screen width, and mounting details. Compare these with the arm’s stated limits, then account for an attached webcam or other equipment. A screen may meet the weight limit but still be too wide or deep for the arm’s reach and movement range.
For a curved monitor, check the rear housing as well as the mounting points. A pronounced curve can affect how the display sits against an attachment plate. Confirm that the arm and any required mounting hardware accommodate the screen’s shape. Also consider the distance between the screen’s center and its mounting point, which affects how the arm positions the display.
Use these steps to check a proposed pairing:
Find the display’s weight, width, height, and mounting information in its product documentation.
Compare its weight and dimensions with the arm’s stated compatibility limits.
Check whether the display has mounting holes or needs a compatible adapter.
Assess whether the mounted screen can move without contacting a wall, desk, or neighboring display.
For a multi-screen setup, assess every display separately. Two screens of different sizes or weights may need different arm positions, even if they share one base. Account for the combined screens in your layout plan, but match each display to its assigned arm’s capacity. An ultrawide screen also needs room to rotate and extend without hitting desk equipment.
A non-VESA screen isn’t automatically incompatible. The key question is whether an adapter is made for that monitor and works with the arm’s attachment plate. Don’t assume a universal-looking bracket fits every chassis. The adapter must hold the screen securely without blocking ports, controls, or ventilation openings.
Weight capacity is a limit, not a target to exceed. Keep the installed display within the arm manufacturer’s stated range, and use the specified mounting hardware. If a screen shifts, tilts, or won’t stay in position after installation, stop adjusting it under load and review the arm’s setup instructions. Check the screen, adapter, and fasteners as one connected assembly before returning the display to regular use.
Monitor arms for tight or open workspaces
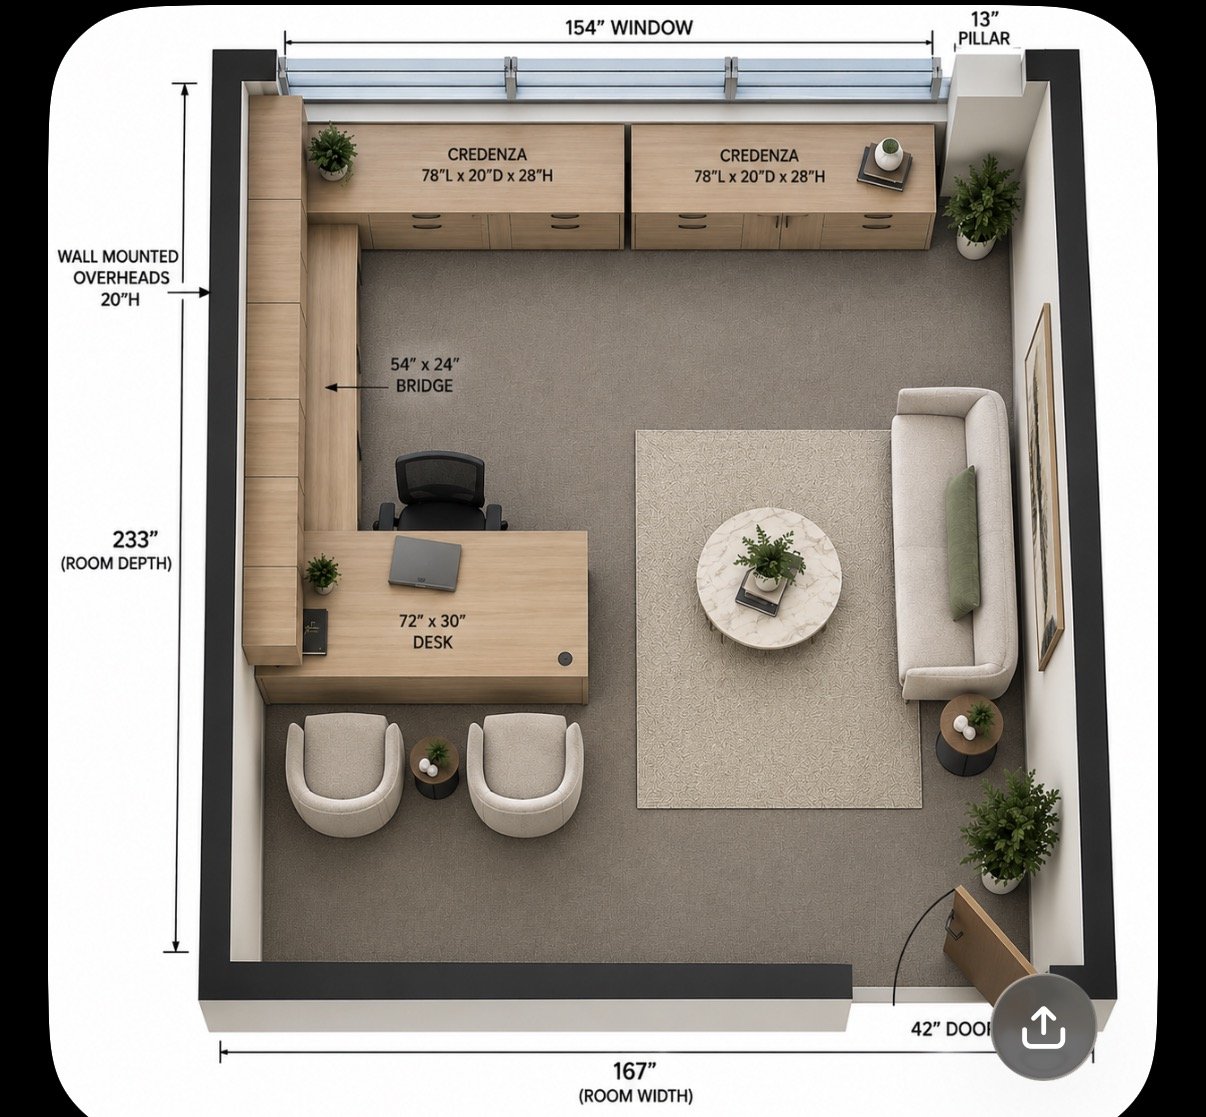
Workspace size affects how an adjustable screen mount should be positioned. In a compact Los Angeles office, prioritize usable desk surface and screen clearance; in an open plan, coordinate sightlines and movement across the workstation.
Start with a simple desk plan. Mark the chair, keyboard, screens, desk edge, wall, and nearby equipment. In a narrow workstation, position the primary display so it doesn’t block access to frequently used items. An adjustable arm can move a screen aside when the desk needs to support paperwork or shared tasks. Check that the arm’s full travel path clears shelves, partitions, and nearby workstations.
For a desk against a wall, plan screen depth and arm movement together. A dual-screen arrangement may need forward reach to position both displays side by side. In a corner office, test whether a screen mounted near the desk’s inner corner can turn toward the user without hitting the wall. The mounting position affects both usable surface and viewing angle.
Open workspaces have different priorities. On a shared benching system, colleagues may sit along one long surface, so position displays to preserve each person’s work zone. At a workstation facing an aisle, consider whether screen movement could enter a neighbor’s space. If a team uses a mix of single- and dual-screen setups, map each mount before installation rather than treating every desk as identical.
Use this layout sequence to compare compact and open arrangements:
Mark each user’s seated position and primary screen location.
Trace the screen’s movement path from its normal position to its adjusted position.
Identify walls, shelves, partitions, cables, and shared work surfaces along that path.
Reserve desk space for keyboards, documents, and equipment that remain in daily use.
Compare neighboring workstations to identify conflicts between screens or arms.
A compact office may benefit from a mount at the rear corner, keeping the central surface clear. An open bench may need consistent placement across desks while allowing individual adjustments. These examples show why desk layout, screen position, and circulation should be considered together.
For a Los Angeles workplace with mixed desk types or shared zones, plan your office layout around screen placement, workstation use, and available clearance. This helps connect the monitor setup to the wider workspace rather than treating each desk as an isolated installation.
3S Interior Design: Private Office Desks & Casegoods
3S Interior Design can help businesses align private office desks and casegoods with the wider workspace plan. If screen placement exposes a mismatch between desk dimensions, work habits, and available room, reviewing the furniture layout can be a useful next step.
Space planning and layout design connect individual workstations with shared areas, while ergonomic office seating and workstations support broader office requirements. For a project involving new furniture, 3S Interior Design also coordinates delivery and professional installation as part of its turnkey workspace solutions. This is relevant when monitor positioning is one part of a larger office update, rather than a standalone equipment purchase.
Contact 3S Interior Design to discuss your office furniture and workspace planning needs.
Make the Next Workspace Decision Count
Plan the screen setup around how your team uses the office. A workstation change can affect how people share desk space, move between tasks, and arrange equipment. Treating display placement as part of the broader office plan helps coordinate these decisions.
Before making changes, identify the work areas that need attention and the furniture decisions connected to them. 3S Interior Design can help businesses plan commercial office furniture and workspace layouts, then coordinate procurement, delivery, and installation. Its offerings include private office desks and casegoods, ergonomic office seating, and workstations and cubicles.
When your office plan calls for a wider furniture review, discuss how monitor arms fit within that project. Contact 3S Interior Design to start a conversation about your workspace needs. A well-planned next step can help your office support the work ahead.
Frequently Asked Questions
Clamp vs grommet monitor mount: which is better?
A clamp mount suits a desk edge that allows secure attachment; a grommet mount uses an opening in the desktop. Choose based on the desk’s construction and where the screen needs to sit. For example, a clear rear edge may suit a clamp, while an existing grommet opening may place the arm closer to the center. Compare both positions with your keyboard and screen layout.
Do you have to drill a hole in your desk for a monitor arm?
Not necessarily. An edge clamp or an existing grommet opening can provide an attachment point without drilling. A grommet-style base needs a suitable hole, so a desk without one may require drilling if you choose that method. Before altering a desktop, review its construction and the mount’s installation instructions. A clamp may be more practical when drilling isn’t appropriate for the furniture.
What does a monitor arm do?
A monitor arm supports a display and lets the user reposition it without moving the desk. For example, an employee can shift a screen aside to review printed plans, then return it to the usual viewing position. The arm’s range depends on its design and mounting location. In a Los Angeles office, consider how screen movement fits daily tasks and neighboring work areas.
What types of monitor arms are available, and how do they differ?
Types include single-screen, multi-screen, ultrawide-compatible, clamp-mounted, grommet-mounted, wall-mounted, and freestanding designs. They differ in the number of displays supported, attachment method, and screen positioning. For example, a dual-screen setup may use one combined assembly or separate arms. First identify the display arrangement, then compare mounting options that suit the desk and room.
How do I choose a monitor arm based on monitor size, weight, and VESA compatibility?
Compare the display’s specifications with the arm’s stated limits and mounting interface. Check the screen’s weight, physical dimensions, and VESA pattern in its product documentation. If the monitor lacks VESA holes, use an adapter only if it’s compatible with both the display and arm. For example, a wide screen may need greater reach even when its weight is within the arm’s stated capacity.
What are the best monitor arms for a single monitor, dual monitors, and ultrawide displays?
The best option suits the display count, workspace, and screen specifications. A single-screen setup needs one compatible mount; dual displays need room for both screens to move and align. An ultrawide display needs compatible mounting support and enough reach for its width. Compare the manufacturer’s screen and weight limits rather than choosing by screen count alone.
How do desk clamp, grommet, wall-mounted, and freestanding monitor arms compare?
Desk clamps attach at an edge, while grommet mounts use an opening in the desktop. Wall-mounted designs attach to a wall, so placement depends on the wall’s position and installation requirements. Freestanding arms rest on a base on the work surface, avoiding a desk-edge clamp or grommet. Compare each method’s footprint and location with your room layout, desk use, and screen position.
What desk thickness and clearance do monitor arms require?
Requirements depend on the mount, so measure the intended attachment area and compare it with the product’s installation specifications. Check underneath for desk frames, drawers, or cable trays that could interfere with a clamp. Also allow room for the screens and arm movement. In a Los Angeles office, note nearby walls, partitions, and adjacent desks before settling on a mounting location.
Comments